
PRE-TRAINING #3
Overview
Note: Up to this point, the main steps you will need to have completed are:
1. Having a domain name registered with Namecheap
2. Hosting with HostJill
3. Linking both of these elements (your domain name and hosting) together.
1. Install WordPress on Your Domain
Detailed Steps On How To Install WordPress On Your Domain (Overview of the process)
Detailed Steps On How To Install WordPress On Your Domain (Overview of the process)
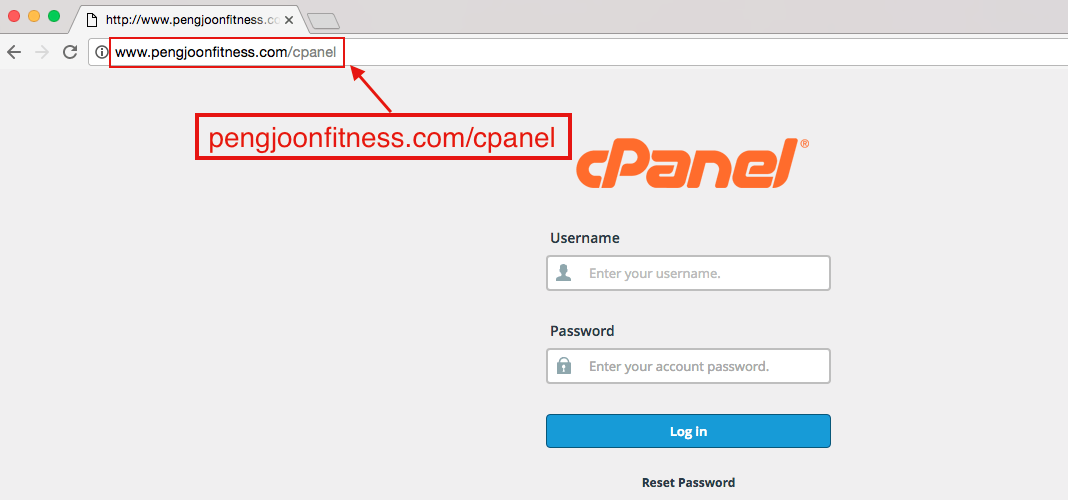
Step 1: Go to your domain’s cpanel. To do this, go to your website name, and type in “/cpanel” at the end. For example, let’s say my website is pengjoonfitness.com. To go to my cpanel, I need to type it as “www.pengjoonfitness.com/cpanel” into my browser’s address bar and hit “Enter”.
Note: If you do not see the screen above (if you see an error message, for example), it probably means one of two things: 1. You might not have keyed in the page address properly, so check that the address in the address bar is correct.
2. It can take up to 24 hours for your website and hosting to link, so you might have to wait for a while.
1. You might not have keyed in the page address properly, so check that the address in the address bar is correct.
2. It can take up to 24 hours for your website and hosting to link, so you might have to wait for a while.
Step 2: Enter your username and password (which can be found in the email from HostJill.com that was sent to you when you purchased a server at HostJill.com) and click on “Log In”. You’ll see this screen.
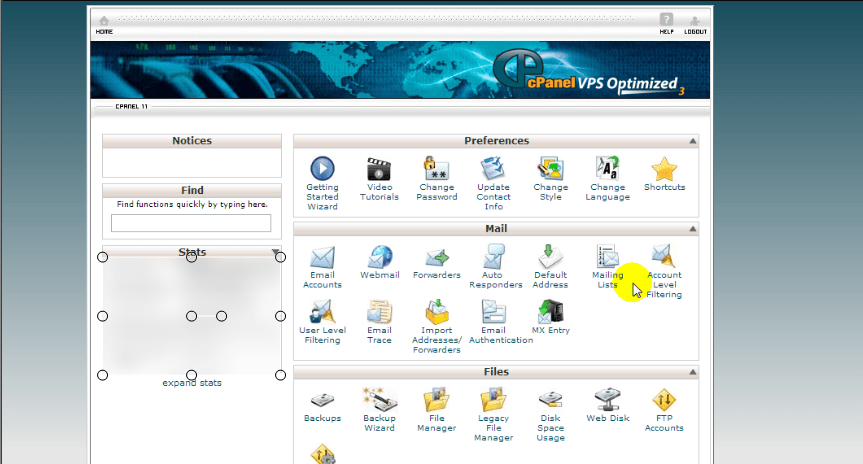
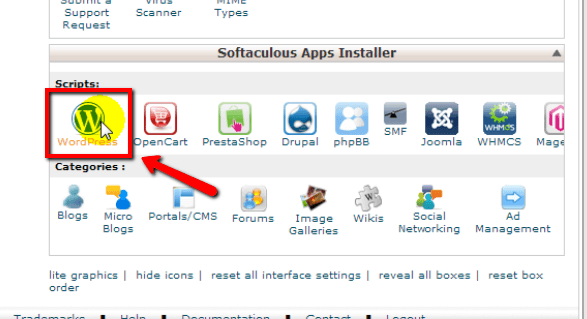
Scroll down to the section that says “Softaculous Apps Installer” and click on the WordPress icon.
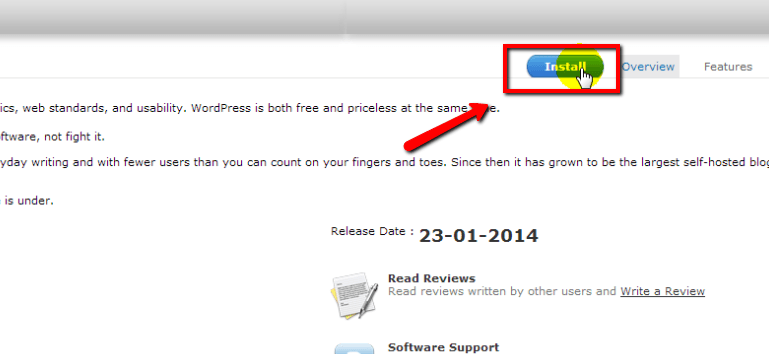
Step 3: On the next screen, click on “Install”.
Step 4: On this screen, there’s only one thing you need to change. Go to the box for “In Directory”, highlight the text in the box, and delete it.
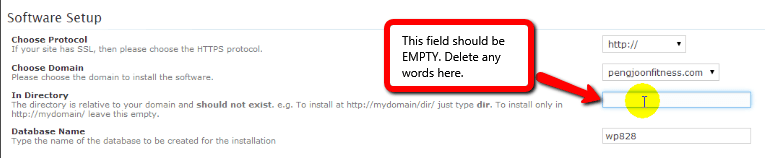
The rest of the info here, you can leave it as default. IMPORTANT: For the admin username and password, do NOT leave it as the default. Please come up with a different password and username that you can remember. For the password, it’s recommended that you think of one that is at least 8 characters long, and which contains a mixture of letters and numbers (even symbols, if possible). This is to prevent your WordPress account from being hacked and to increase security. When you’re done, click on “Install” at the bottom of the screen.

Step 5: Once it’s installed, you’ll see a message on the screen telling you it was done successfully.
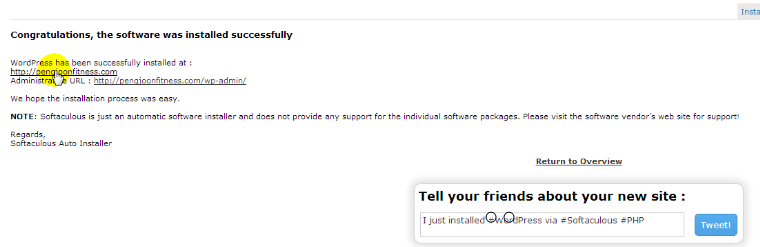
If you want to check whether it was installed correctly, just go to “www.yourwebsitename.com/wp-admin”. So in my example, I would go to “www.pengjoonfitness.com/wp-admin”.
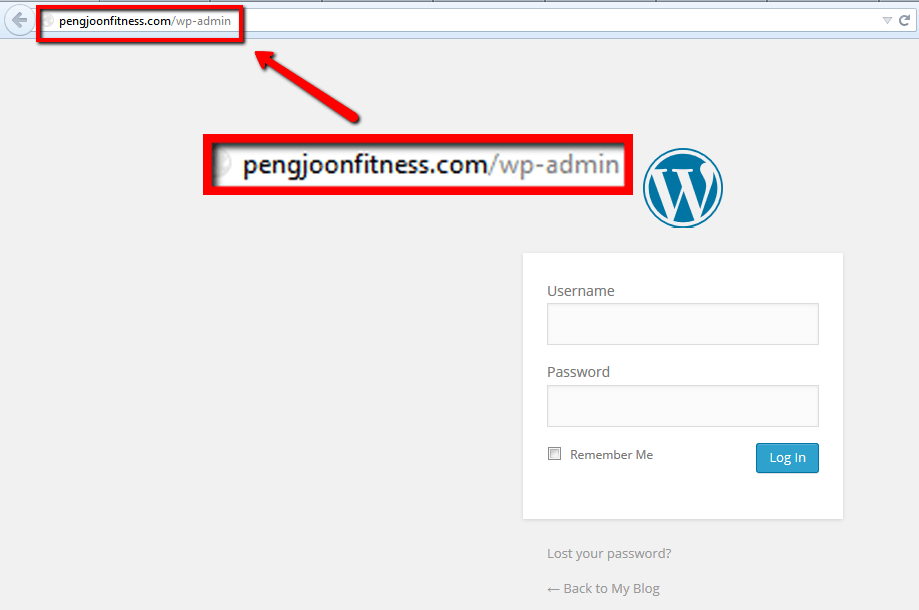
Type in your username and password and log in.
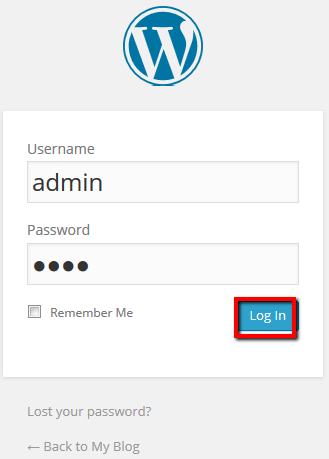
Step 6: You’ll see your WordPress Dashboard, which will look something like this.
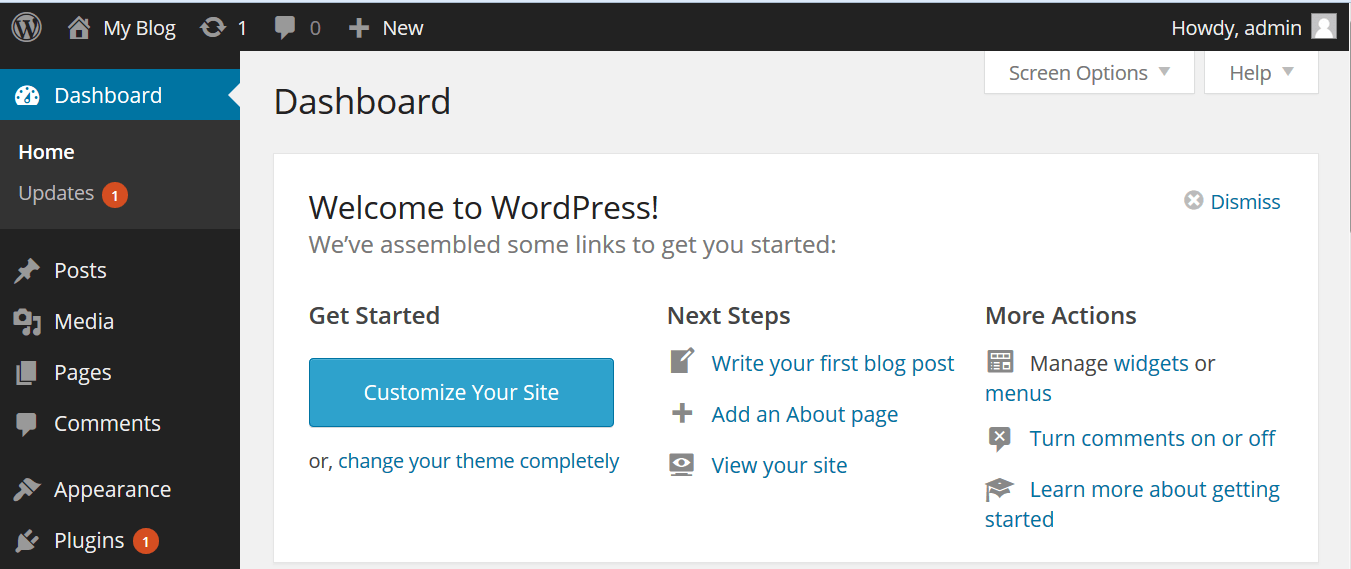
And that’s it! You’re ready for Facebook Secrets! Please Click HERE if you want to download all the steps on How To Install WordPress On Your Domain as described above in a report (in a PDF file).
2. Sign up for a Paypal Business Account
Sign Up for a PayPal Business Account at www.paypal.com (Overview of the process below)
• Sign up for a PayPal Business Account (or upgrade your personal account to a business account)
• NOTE: In some countries PayPal refers to this as the Premier account. If that is the case for you, please know that this is basically the same type of account and please sign up for the premier account.
• NOTE: If you have a PayPal personal account you can only make purchases. Your ability to take online orders from your website requires PayPal Business or Premier. (No business license is necessary).
• Do create and verify your PayPal account before the event, as Peng Joon will be going through PayPal during the seminar.
• Remember: No PayPal Business/Premier account means you won’t have the ability to take orders online.
We have worked very hard to reduce the amount of “Tech Talk” at the event, so by following these simple steps it will ensure that you’re able to follow the III training methodology quickly and easily.
Detailed Steps To Sign Up for a PayPal Business Account at www.PayPal.com
NOTE: The screenshots may be different from what you see on your screen, as PayPal.com’s interface tends to differ from country to country.
Step1 : Go to www.paypal.com, and click “Business” as shown on the left.

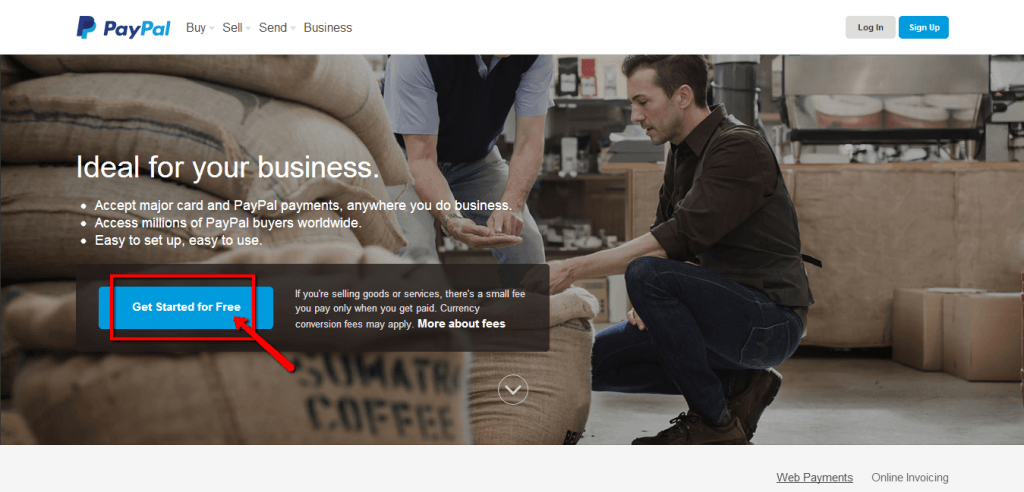
Step 2: You will see the screen as shown on the left. Click on the “Get Started for Free”.
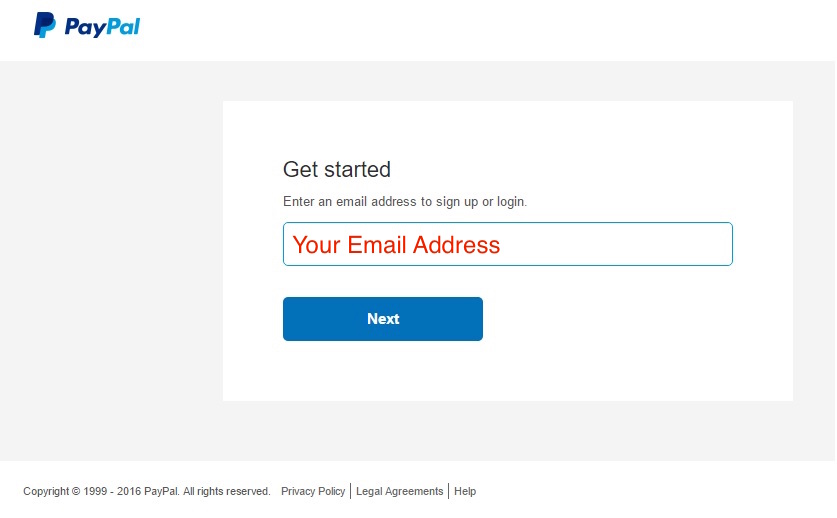
Step 3. To get started, key in your email address and click “Next”.
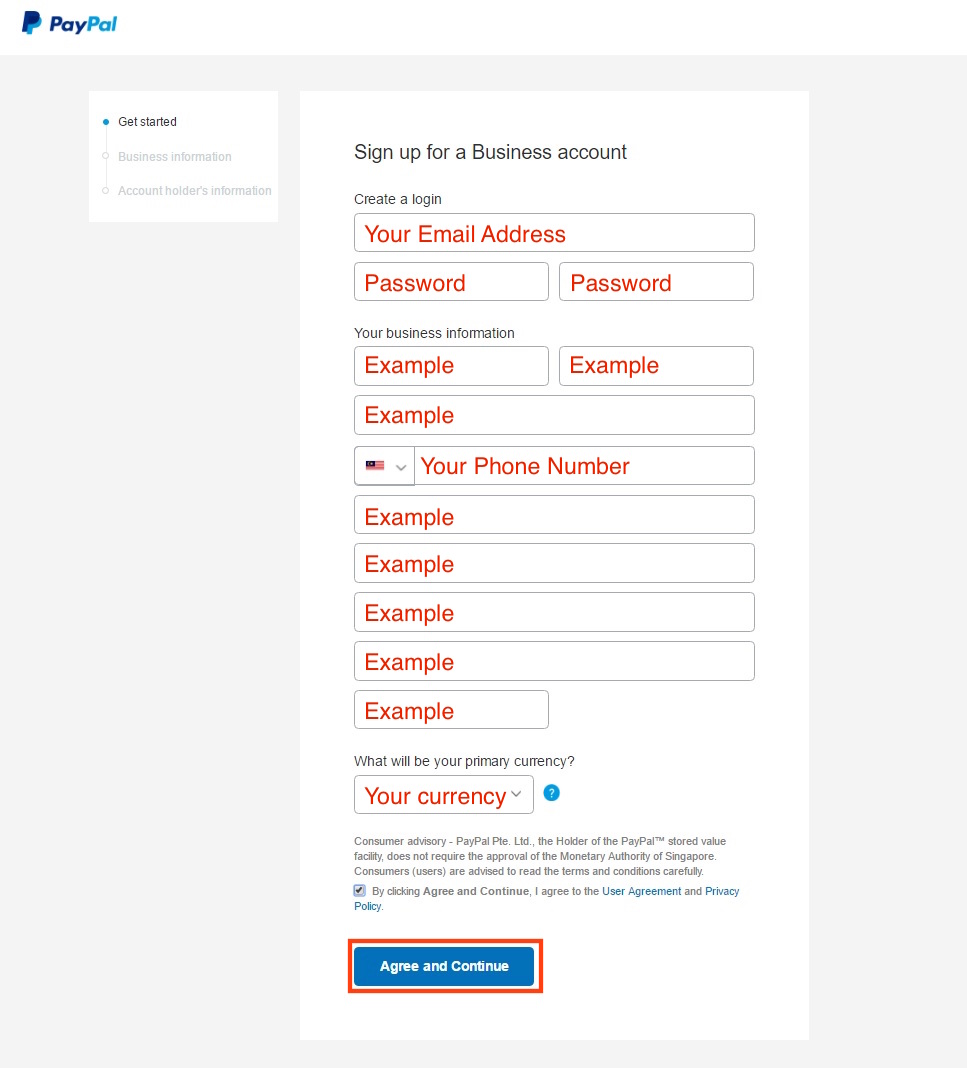
Step 4: Fill in the necessary fields and click the “Agree and Continue” button at the bottom of the page.
Also, note down your password so you won’t forget it when you come for Internet Income Intensive event.
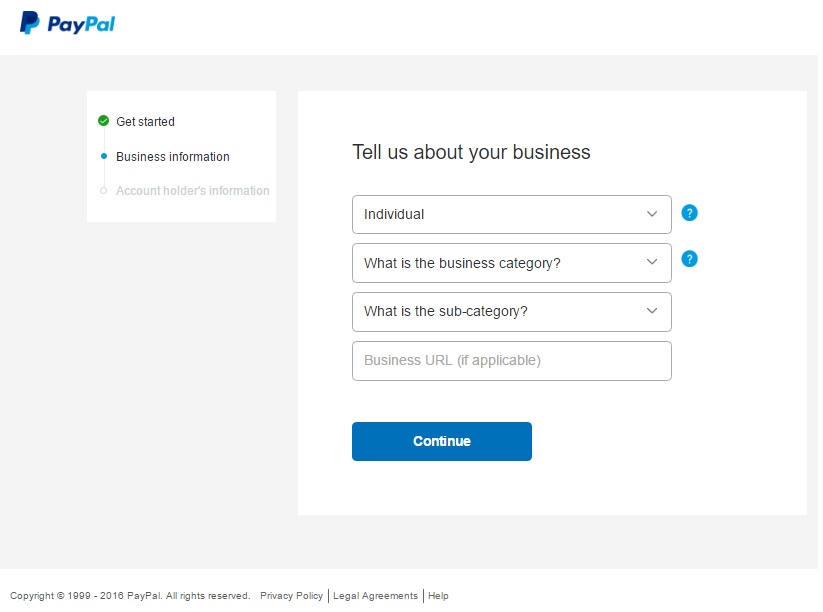
Step 5: Select the type and category of your business from the drop down button.
Note: That everything from now on you can amend if ever necessary.
Step 6: Complete your personal information and click “Submit” and proceed to “Set Up Payments”.
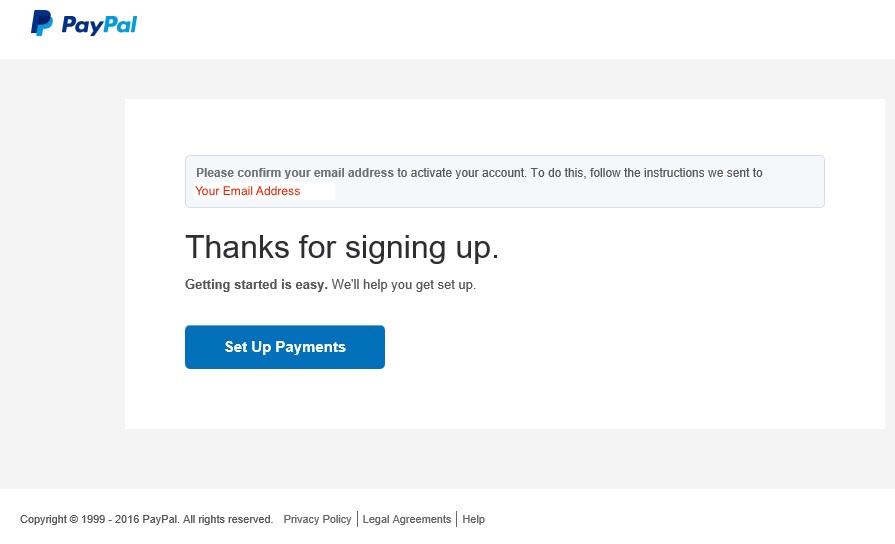
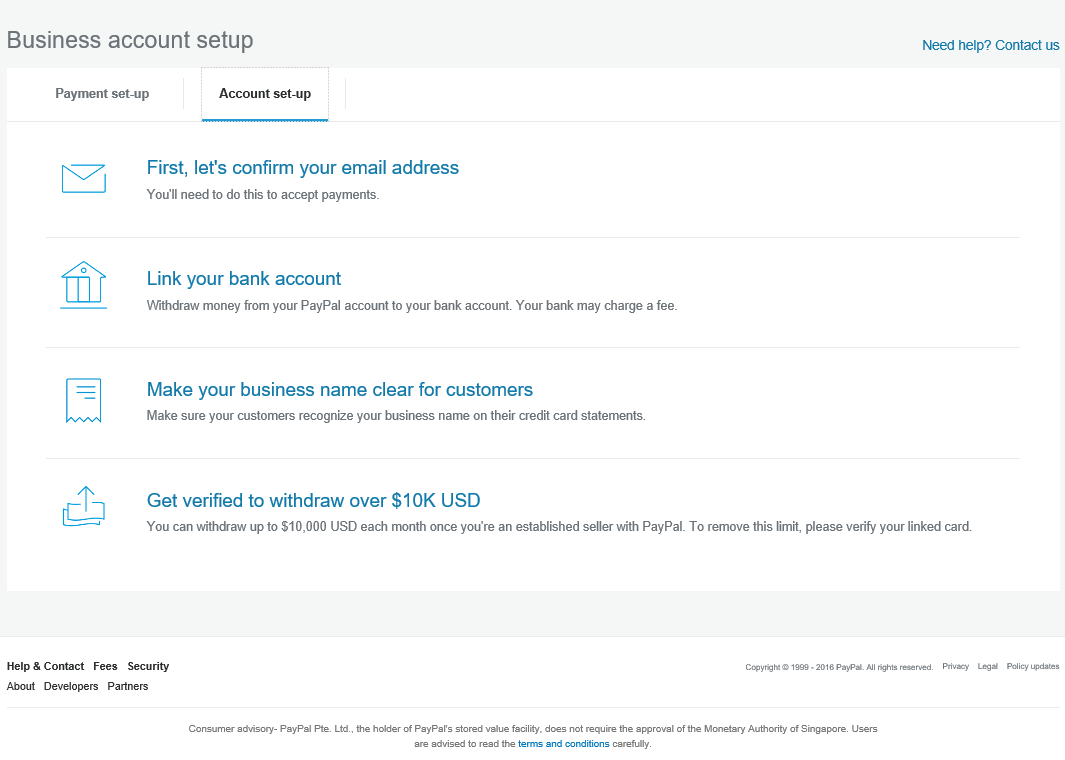
Step 7: There will be 3 steps that you will have to do after creating the account.
A) Confirm Email Address
B) Set up your security questions
C) Get Verified
You’ll need to complete all of the 3 steps above.
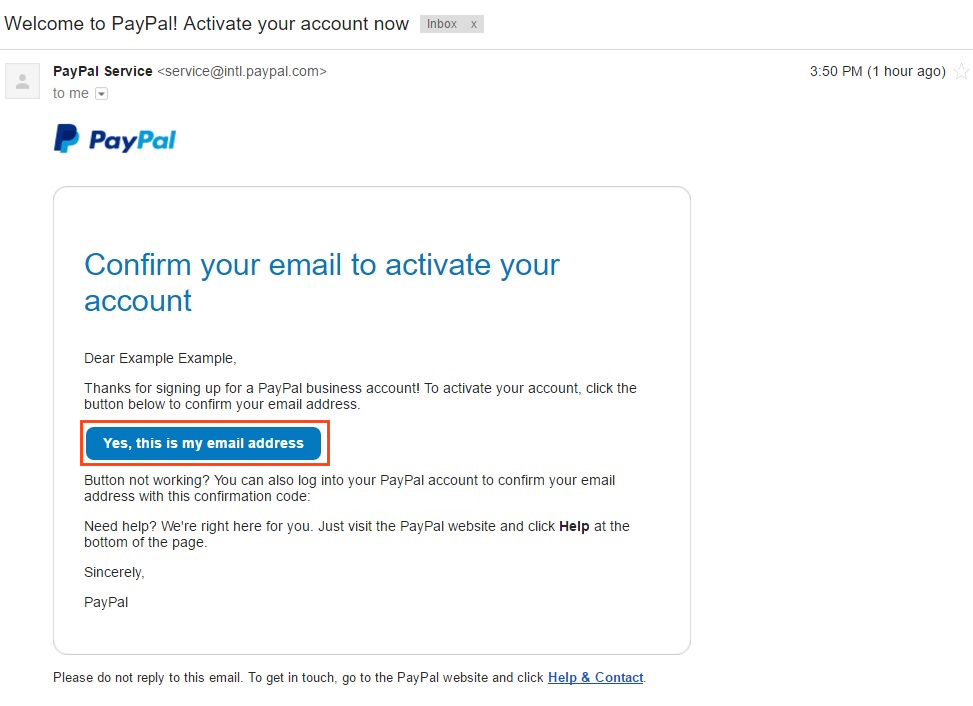
Step 7A: Click on “Confirm Email Address” and you will see this screen. Follow the instruction accordingly.
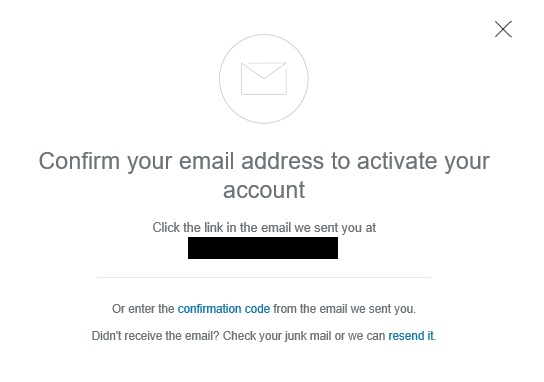
According to the instruction in step 7A. Go to your Gmail and find the email with title “Welcome to Paypal”. The email looks like this. Click on the “Yes, this is my email address” to confirm your email address and you will be taken to the Paypal login page.
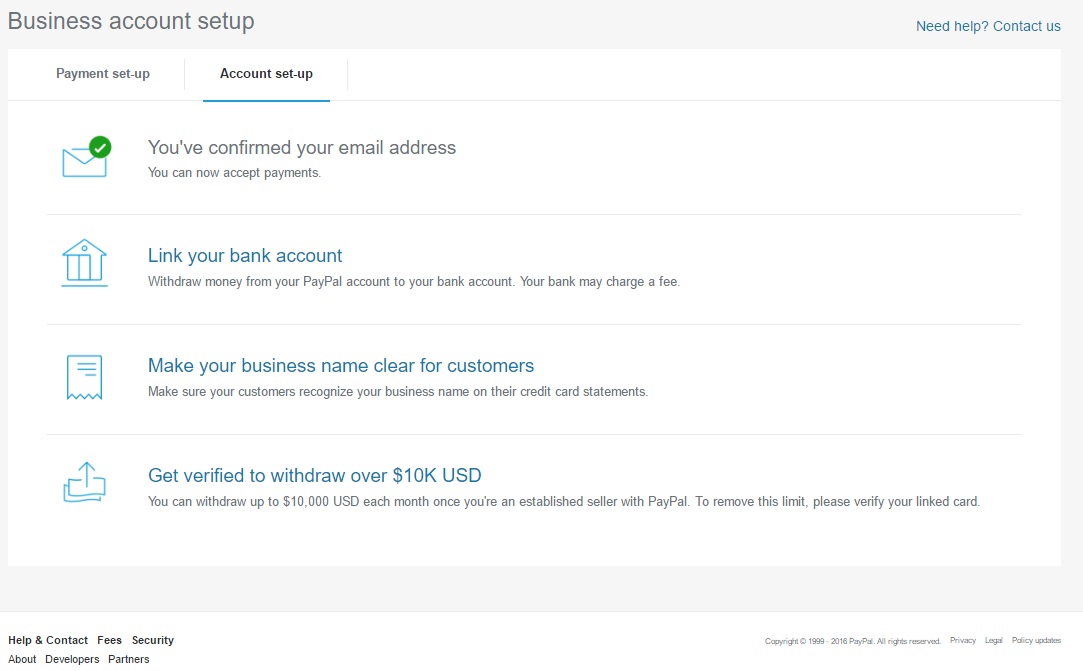
Login to your PayPal account and you will see that your email has been successfully confirmed.
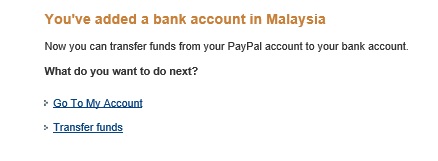
Step 7B: Next step is to link your bank account. Key in all the details correctly. Once you are done, you will need go back to “My Account”.
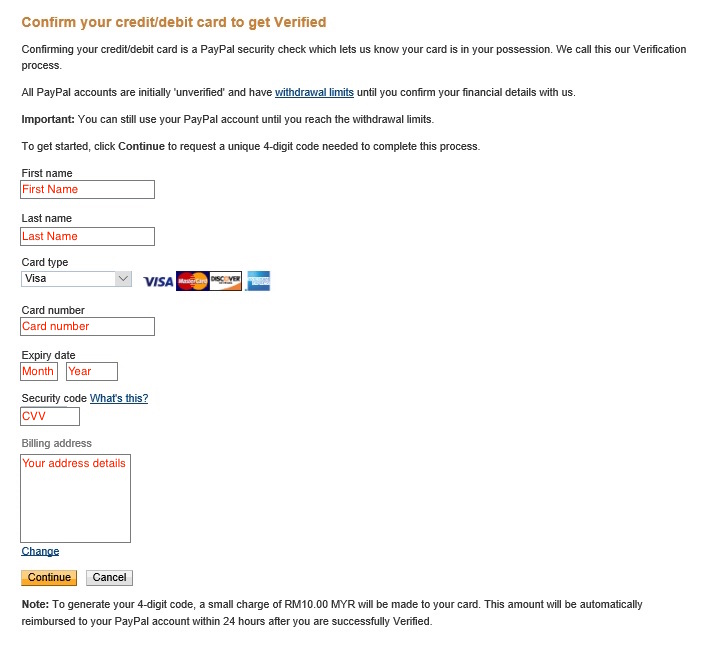
Step 7C: The last step is to “Get verified”. This is a very important step because without account verification, you will not be able to receive or make payment. Go to “My Account Set-Up” as shown in Step 7 screen and then click “Get verified to withdraw over 10k USD”. Click on “Remove Limits” to complete the verification. Fill in all the information accordingly and then click “Submit”.
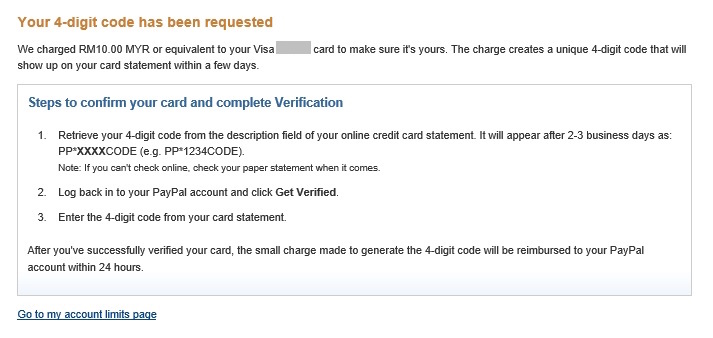
NOTE: To generate your 4-digit code, a small charge of RM10 will be made to your card. This amount will be automatically reimbursed to your PayPal account within 24 hours after you are successfully verified.
Once you click “Submit”, you will see this screen. The RM10 fund that has been deducted by PayPal will generate a 4-digit code for verification. Check your credit card statement to obtain the code. It’s in the description of the payment.
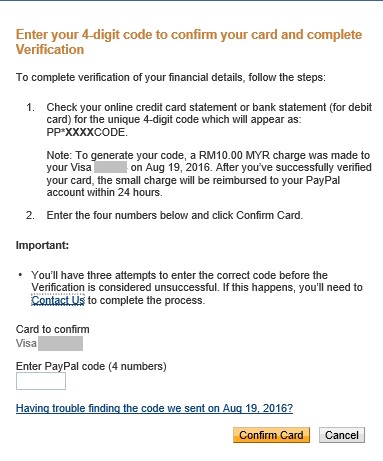
Once you have obtained your 4-digit code from the bank/statement, follow the instructions in the screenshot above: Log into your PayPal account and click on “Get Verified”, then enter the 4-digit code from your statement and click on .“Confirm Card”.
In case that you are accidentally signed up for ‘Personal’ PayPal account, you can simply upgrade it to ‘Business’ without any charge.
Please Click HERE if you want to download all the steps to sign up for Paypal Business as described above (in a PDF file).
3. Set up your Facebook Fan Page
Detailed Steps to Set up your Facebook Fan Page at www.Facebook.com
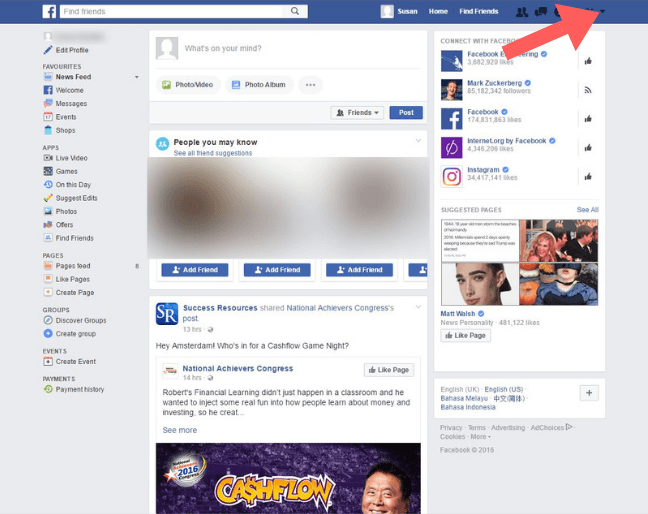
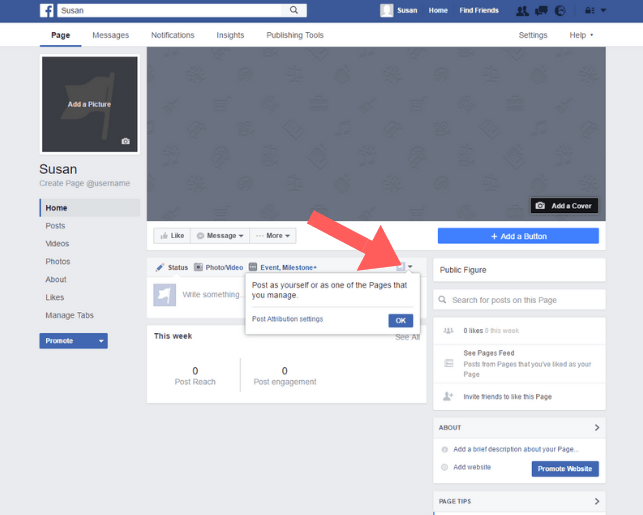
Step 1: Go to your Facebook news feed and click on the tiny arrow on the top right hand of your screen.
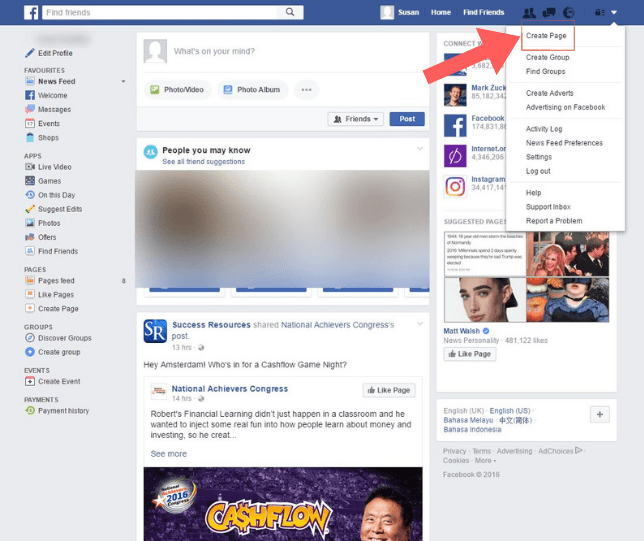
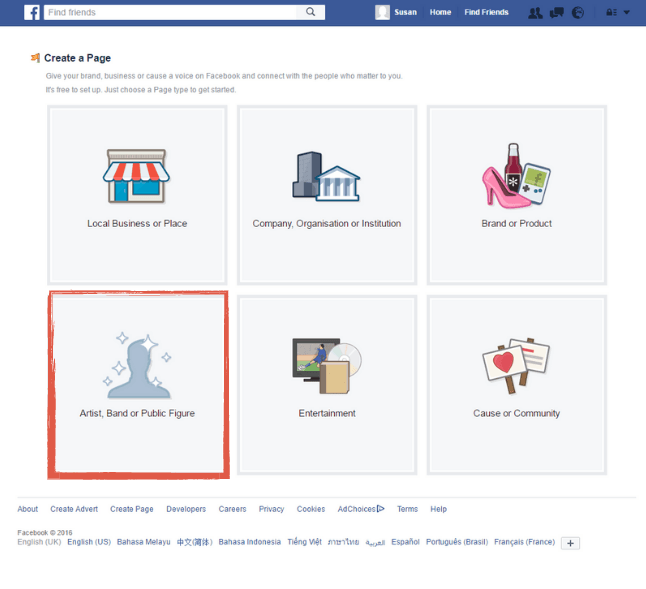
Step 2: Click on "Create Page".
Step 3: If you don’t yet have a brand, product, local business or company, opt for "Artist, Band or Public Figure" so that you can post as yourself.
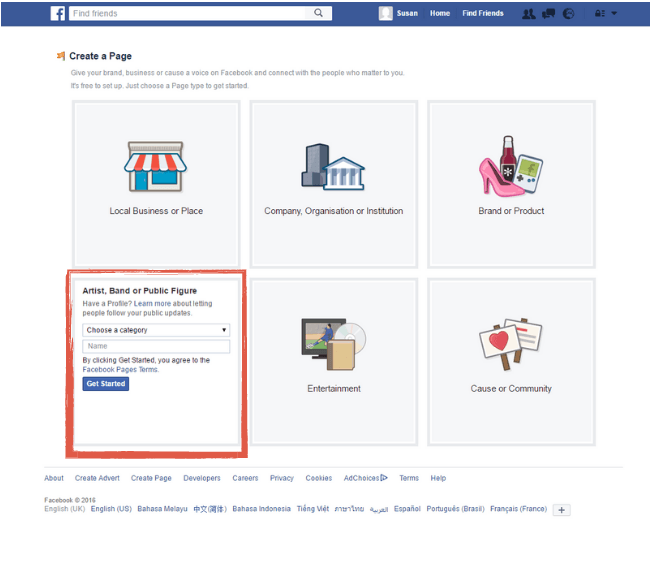
Step 4: Choose your business category (If you’re not sure which to pick yet, leave it and come back to it when you’re ready—you can always change it later).
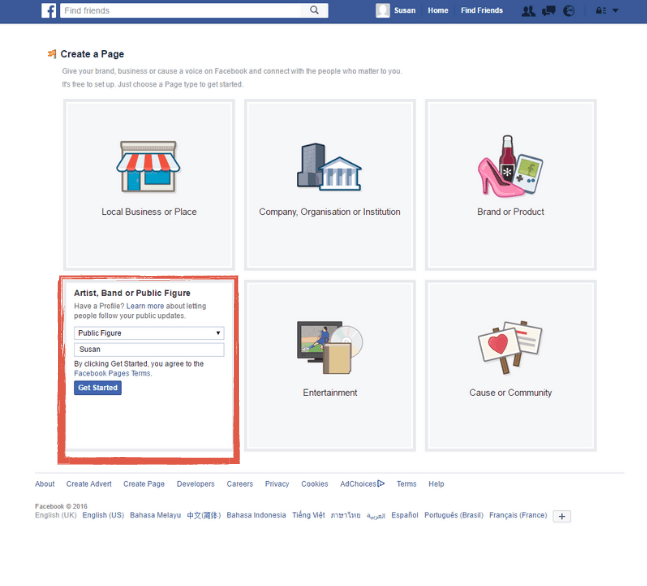
Step 5: Next, enter the name you’d like your fans to know you as, and click "Get Started".
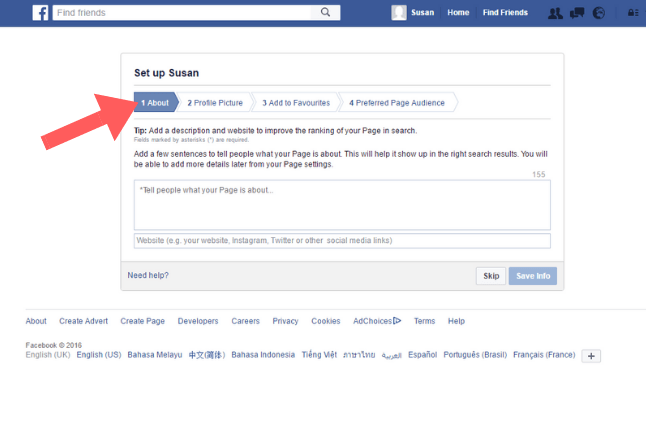
Step 6: Enter a brief description that will tell your Fan Page visitors and followers what your page and business is about, and how it can help them, then click ‘Save info’ to move to the next step. Not sure what to say just yet? You can always ‘Skip’ it and come back to it later.
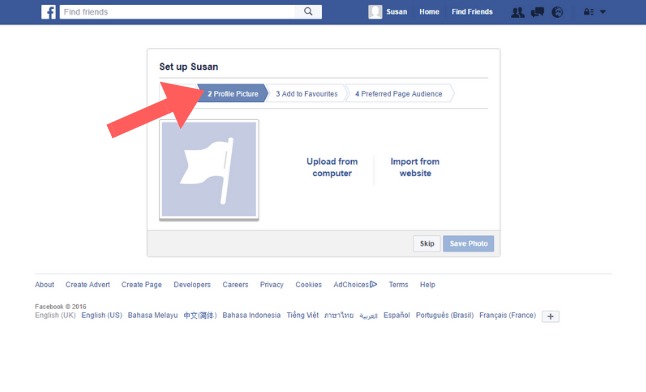
Step 7: Once you’re finished with the ‘About’ section of your page, go ahead and upload your profile photo for your page. This is typically a photo of you or your business’s logo.
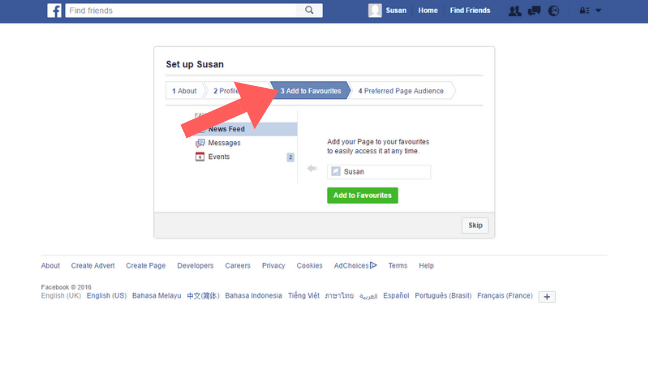
Step 8: Then, Facebook will ask you if you’d like to add your page to your ‘Favorites’ list so that you can access it easily. Our recommendation? Yes!
Step 9: The next step will be to tell Facebook who you’d like to have as your audience. Is it mostly men or women, or both? What about their location(s), age(s), interests and languages? Once you’re done with this, click on ‘Save’ to proceed.

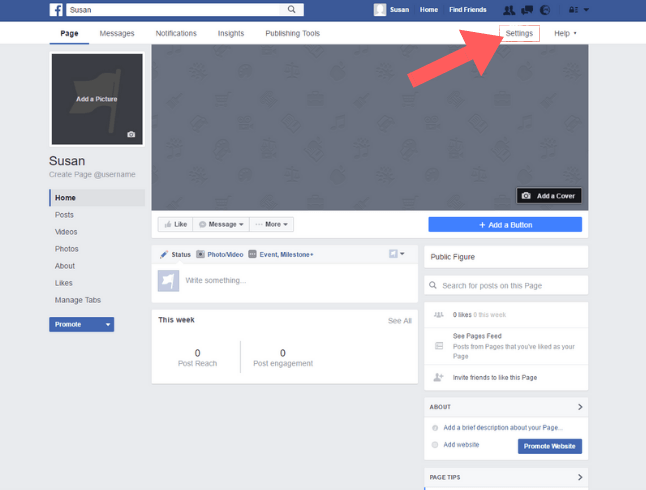
Step 10: Congratulations! You’ve finished setting up your Facebook Fan Page! If you’d like to make any changes to those settings, you can always click on the ‘Settings’ tab on the top right-hand corner of your screen.
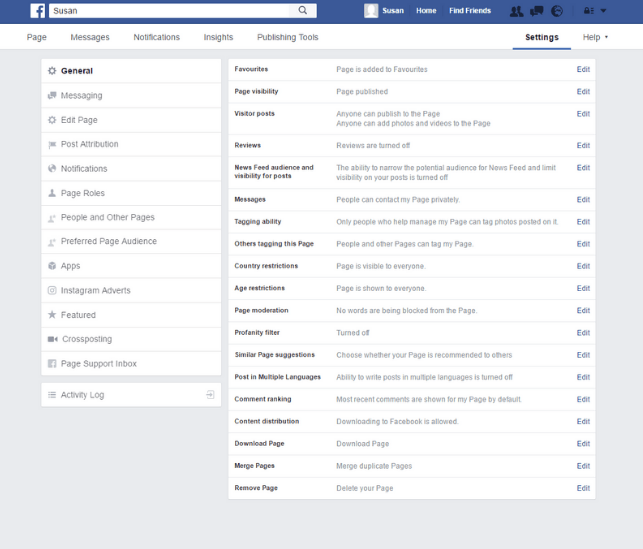
Step 11: Once you click on the ‘Settings’ tab, Facebook will take you to your master settings page, where you can make changes to how you want to present your page to the world, and how Facebook will keep track of your audience’s behavior or interactions on your page.
Step 12: You’ll also want add a ‘cover’ to your Facebook page. This is usually the first thing people see when they visit your page and decide to ‘Like’ it, so you’ll want to pick an amazing photo or graphic!
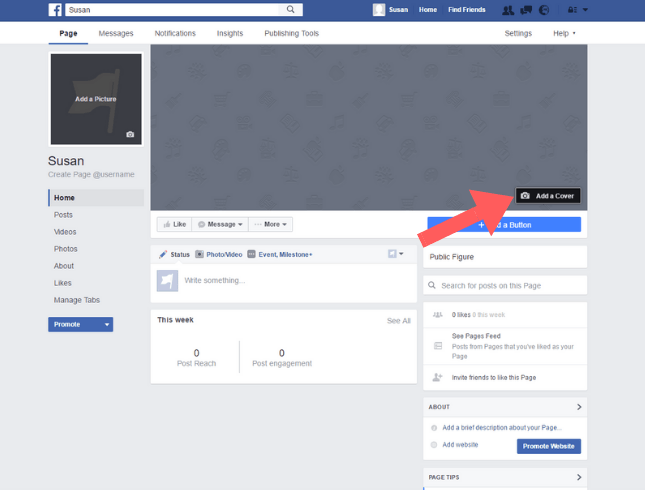
Step 13: You can easily create a gorgeous cover by heading to canva.com, where there are a variety of ready-made social media templates to choose from.

Step 14: Go ahead and scroll down the main Canva page and pick ‘Facebook Cover’ under ‘Social Media & Email Headers’.
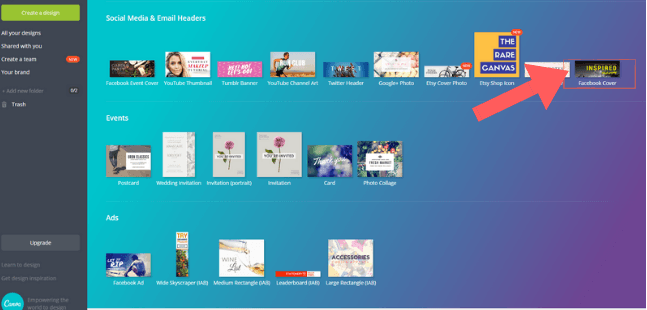
Step 15: Once you’ve created your Facebook Cover, tweaked the copy, downloaded it from Canva and uploaded it to your Facebook Fan Page, voila! You’ve got a beautiful cover all done for you.

Step 16: The final thing for you to do is to create your first Facebook Fan page post. You can either post a photo, video or even just an inspiring message to connect to your fans and start working on getting them engaged. Above all, have fun!
Please Click HERE if you want to download all the steps to set up your Facebook Fan Page as described above (in a PDF file).
BONUS TRAINING : Wordpress basics that you need to know
Choose your Wordpress Theme
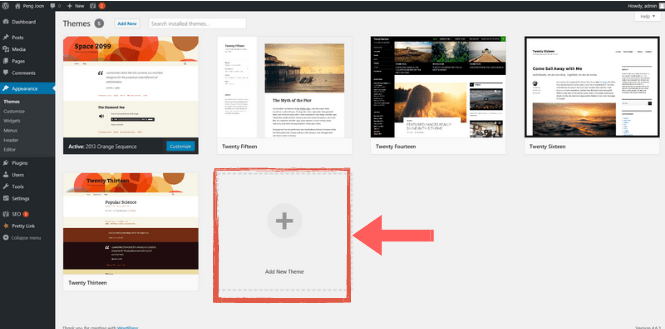
Step 1: Look for the ‘Appearances’ tab on your Wordpress tab, and click on it.
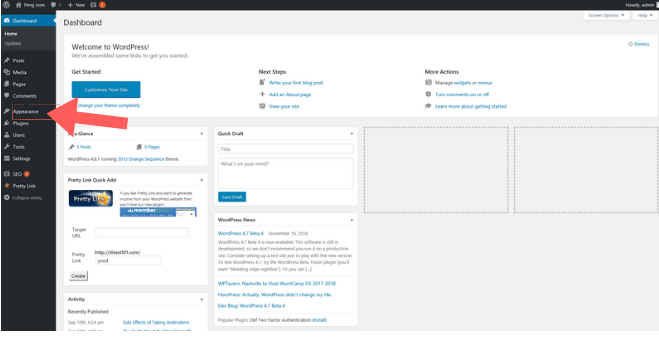
Step 2: Select ‘Themes’ on the same sidebar on your left, then click on ‘Add New Theme’.
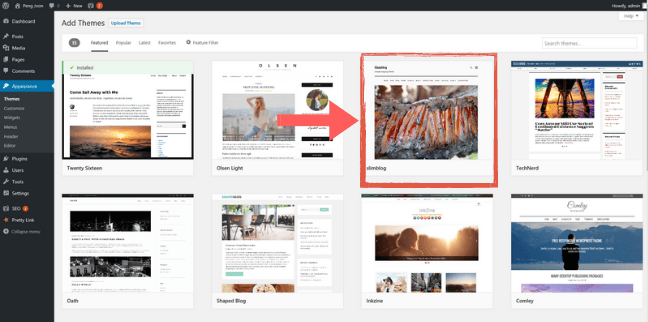
Step 3: Scroll through the list of themes that are available and pick one that you’d like to install and try out. At this stage, don’t worry about picking the wrong theme. Just experiment with different looks and have fun with them!
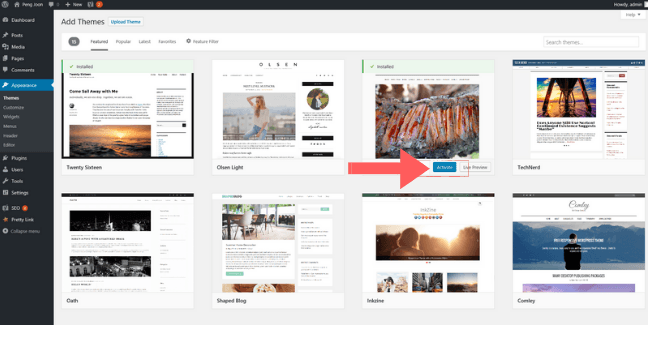
Step 4: Once you’ve decided on a theme, move your mouse over it and click on ‘Install’ and then ‘Activate’.
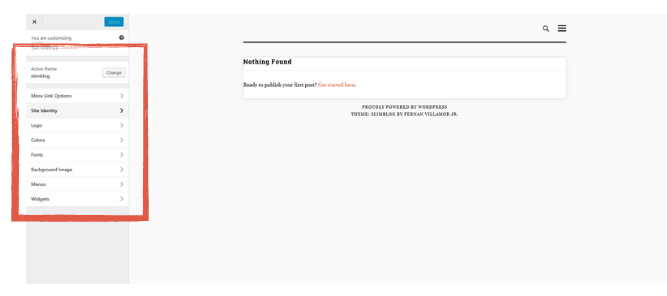
Step 5: Once you’ve activated the theme, hover your mouse over your chosen theme and click on ‘Customize’ to tweak how it will look.
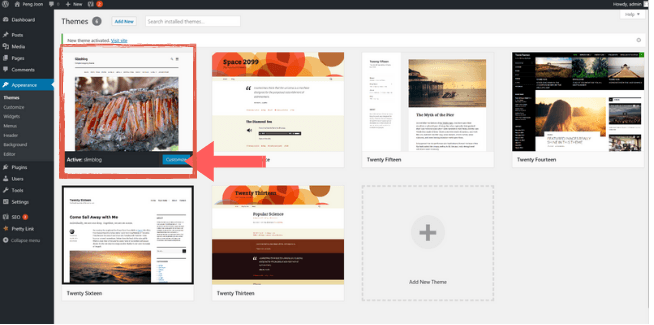
Step 6: Once you’ve clicked on the ‘Customize’, you’ll be taken to a menu where you can tweak settings like your site’s title, tagline, colors and fonts. Get creative and have fun with this process!
Create a Blog Post
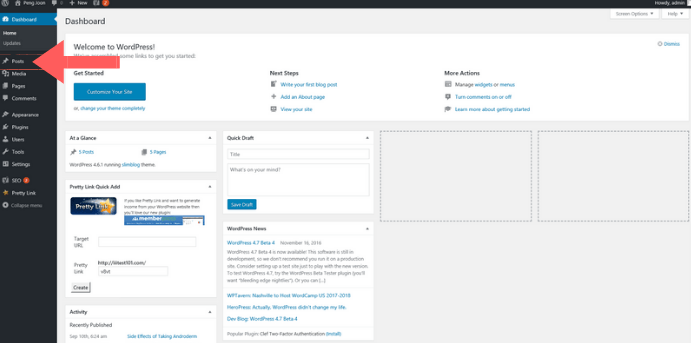
Step 1: Head to your Wordpress dashboard and click on ‘Posts’ on your left.
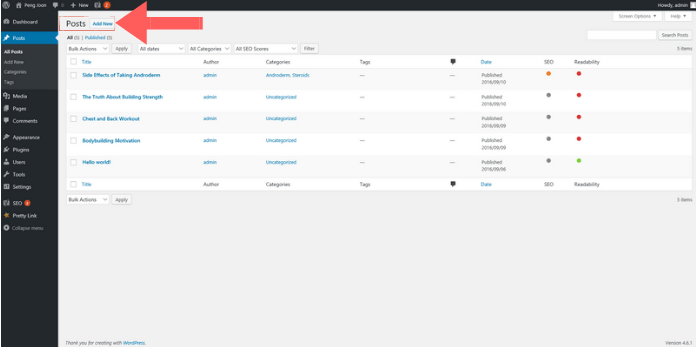
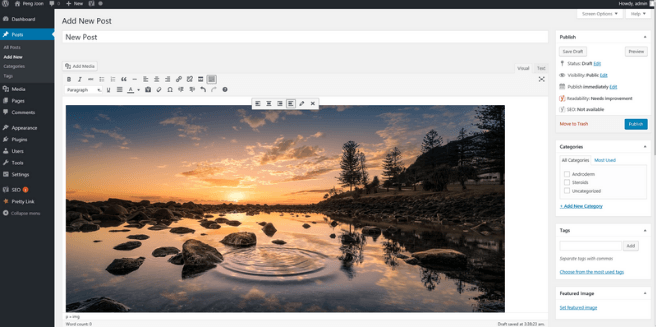
Step 2: Click on the ‘Add New’ button to create a new blog post.
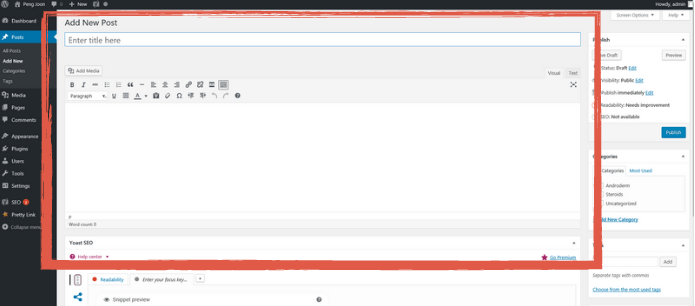
Step 3: A new blog post window will open up, where you can type in the title of your new blog post, as well as the body copy in the Wordpress visual/text editor below.
Insert Images to your Blog Post
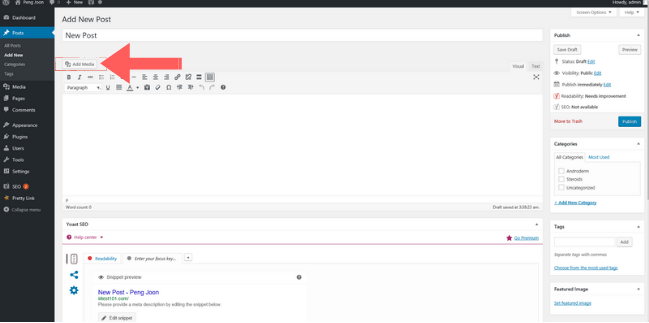
Step 1: To add an image to your blog post, just click on the ‘Add Media’ button that’s just above your Wordpress editor.
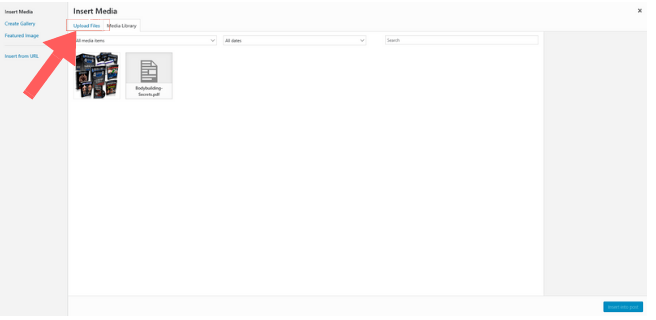
Step 2: Once you’ve done that, click on the ‘Upload Files’ tab that comes up.
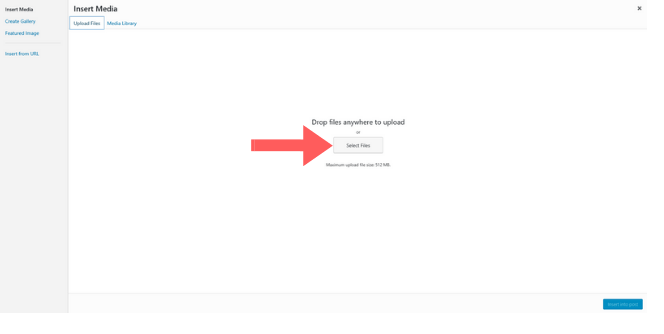
Step 3: Select the image file you’d like to upload and insert into your blog post (this will typically be a .JPEG or .PNG file).
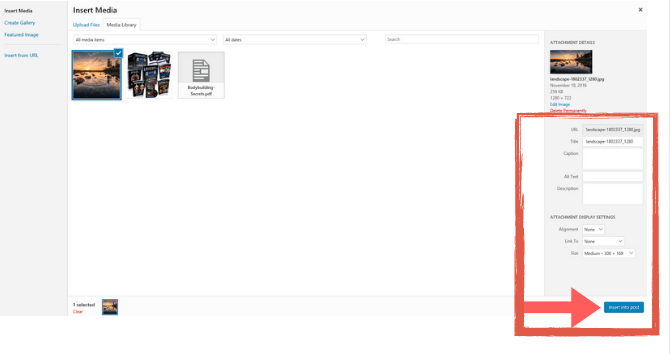
Step 4: After the image has been uploaded into Wordpress, you can go ahead and tweak the file name of your image, description, size and alignment, include a caption and add a custom link if you’d like the image to lead to another web page when your readers click on it. When you’re done tweaking its settings, click on ‘Insert Into Post’.
Step 5: Once you’ve clicked on ‘Insert Into Post’, you’ll be taken back to your Wordpress editor window, and voila! Your chosen image will be included in the post frame according to the size you specified.
Embed a video into your Blog Post
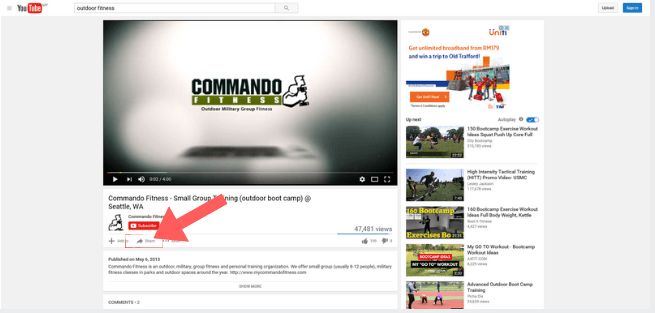
Step 1: If your video is hosted on YouTube, head to the video by clicking on its link in YouTube, and then click on the ‘Share’ tab.
Step 2: Once you do that, more options will come up. Select the ‘Embed’ option.
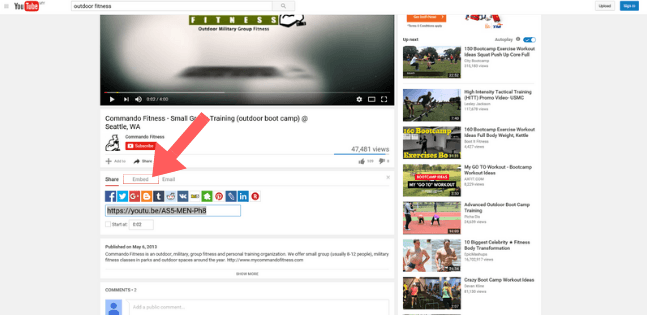
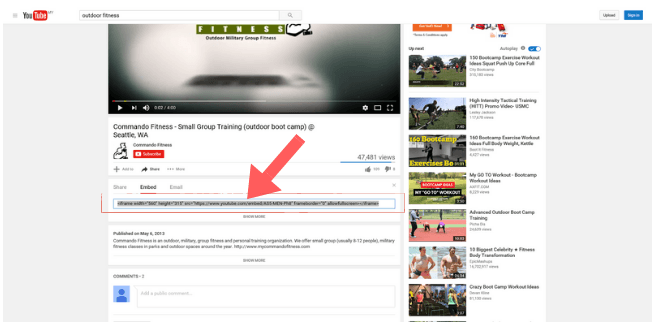
Step 3: Next, cut or copy the entire length of code that’s displayed in the ‘Embed’ box.
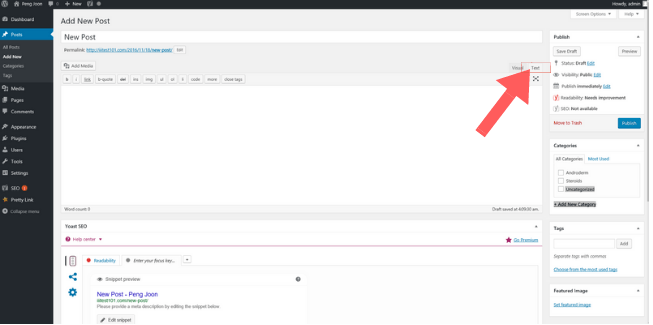
Step 4: Go back to your Wordpress editor and select the ‘Text’ tab of your editor on the top right corner.
Step 5: Paste the code that you had just cut or copied from YouTube into the editor window.
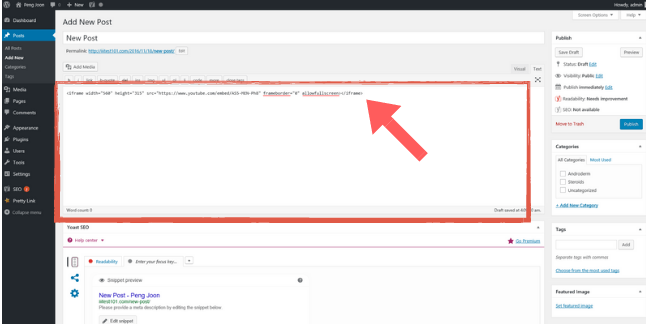
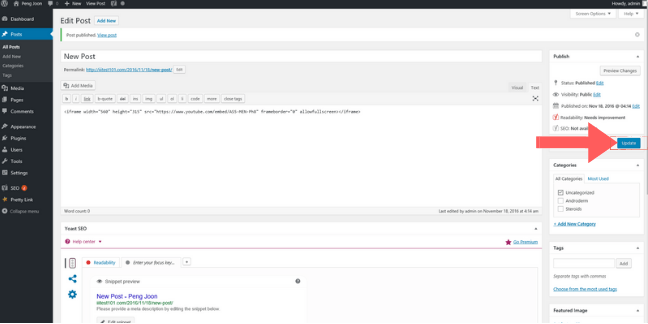
Step 6: Once you’ve pasted the code into the window, click ‘Publish’ to publish the video in this blog post. If you’d like to continue editing and writing your blog post, click on the ‘Visual’ tab to do so and then hit the ‘Publish’ button once you’re done.
Step 7: To see what your blog post with your chosen video looks like, click on the ‘View Post’ link that’s just under the ‘Edit Post’ prompt at the top left of your window.
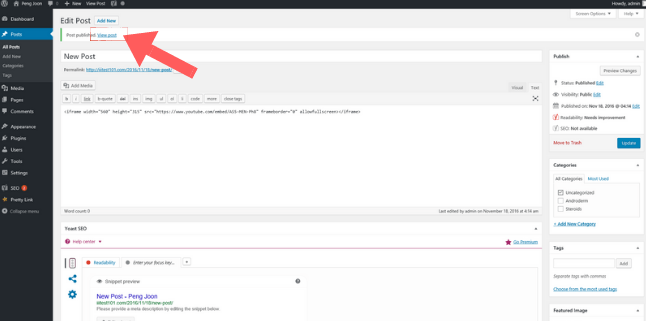
Step 8: And you’re done publishing your video blog post!
Please Click HERE if you want to download all the steps to the BONUS training as described above (in a PDF file).
Next Step
At the end of this Pre-training #3, you should have a Domain Name Registered, your hosting linked to your domain name, WordPress installed on your domain, Paypal account, and a Facebook Fan Page. You are now ready for the Facebook Secrets! Looking forward to your online success! Please Click HERE to proceed to your Pre-Event Checklist.