
PRE-TRAINING #2
Action Guide
Purchase ONE new server to host your new domains at HostJill. (Overview of the process)
• The basic idea is that you need ONE server which will host all your current and future domains. You’ll definitely be buying lots of domains in the future so this server is a basic necessity for your online empire.
• We recommend HostJill as it has been proven to be one of the best hosting services in the world as well as being incredibly affordable.
1. Sign up for HostJill
Here’s a video of me signing up for HostJill. I have screenshots below to detail it step by step as well.
Detailed Steps To Purchasing A Server To Host Your Domains / Websites Through HostJill
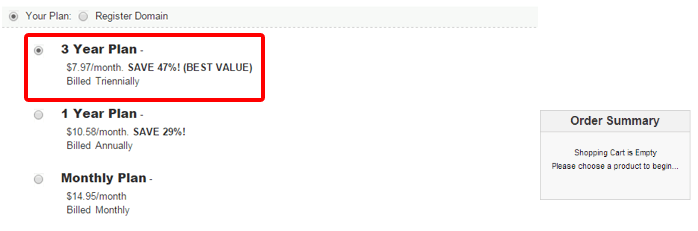
Step 1: Go to HostJill.com. Scroll down to the Web Hosting Packages. We will be going for the Three Year subscription package. Click on the "Three Year Plan".

You’ll be taken to this page. Select the "Three Year Plan".
Step 2: Because you already purchased your domain name from Namecheap, you will not be purchasing a domain name here. So click on the second option which is “I will use my existing domain and update my nameservers”. And insert your domain name in the box below. For this tutorial, we will be using pengjoonfitness.com as the previous example. And “Click on Continue”.
Note: You don’t need the add-ons suggested.

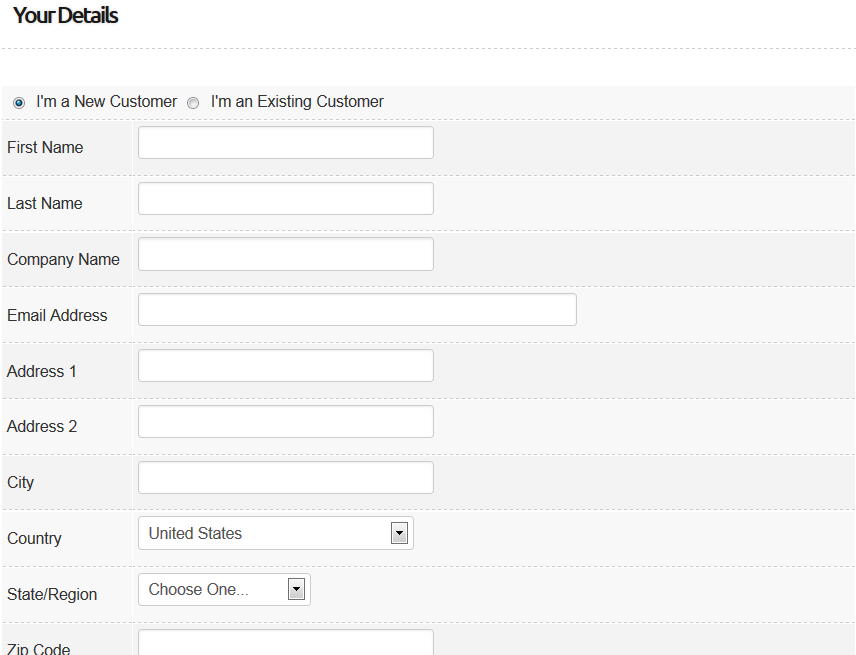
You’ll then be asked to confirm your Billing Details.
At the bottom, you’ll need to choose the Payment Method. If you don’t have a PayPal account yet, please check out Pre Training #3. We’ll be creating a Business/Premier PayPal account here.
When you’re done, click on “Complete Order”.
Step 3: You’ll be redirected to the PayPal payment gateway. Log in to your PayPal account and proceed with the checkout by clicking on “Submit Payment”.

Step 4: You’ll be taken to this screen. Click on “Finalize Your Order”.

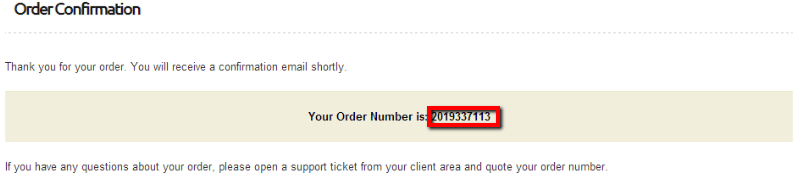
Step 5: You’ll be taken to a screen with your order number, and it will say an email has been sent to your inbox.
Step 6: The next step is to go into your email inbox. Look for an email from HostJill – you should have received 2 emails. IMPORTANT: If you do not see the emails, check in your Spam folder, or you might have to wait a while (it can take up to an hour for the emails to arrive in your inbox). This email contains extremely important details about your account that you’ll need to know for when you link your domain to your new server later.

The next step will be setting up your web hosting with the domain that you have purchased at NameCheap.com. You will link Hostjill.com and NameCheap.com account so that you can get your website up and running. To download all the steps on how to purchase a server with HostJill (in a PDF file), Click HERE.
2. Linking Your Domain Name to Hostjill
Changing The Hosting For Your Domain To Your New Server (Overview of the process)
• Currently your new domain is hosted on Namecheap’s free servers as you did not have a HostJill account when you purchased your new domain.
• Please follow the steps below to change the hosting of your new domain to your new server to keep your domains running fast and free from advertisements and spam.
Here’s a video of me linking my domain to my new server. There are screenshots below as well.
Detailed Steps To Changing The Hosting For Your Domain To Your New Server
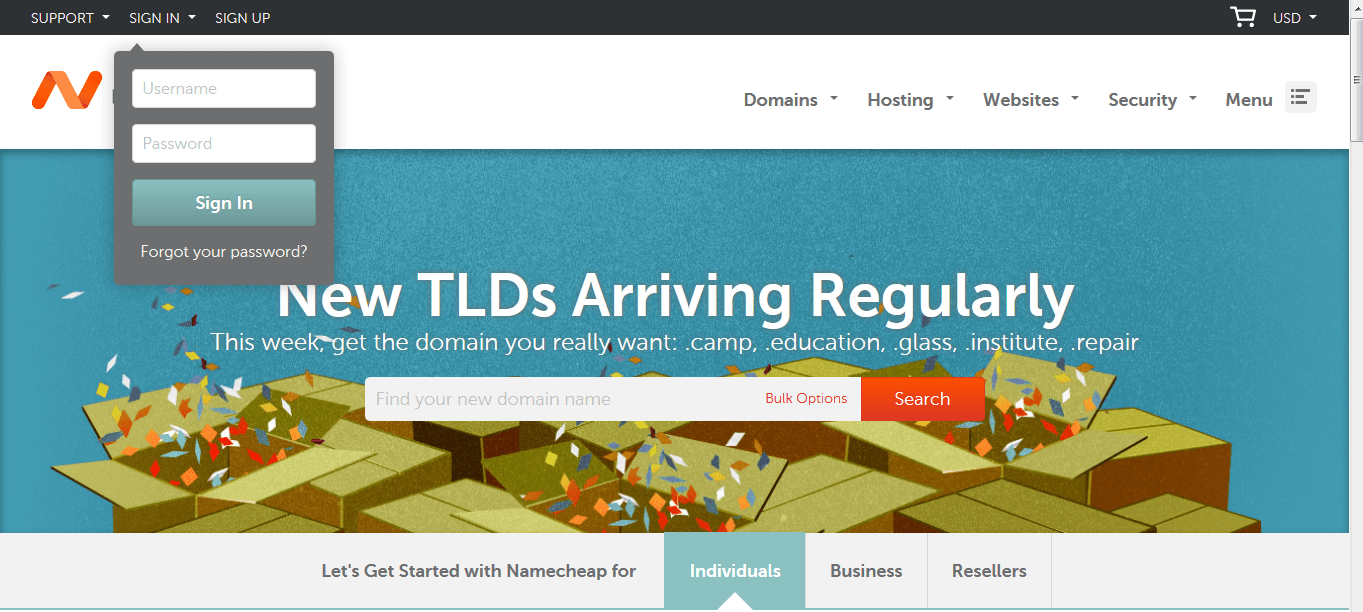
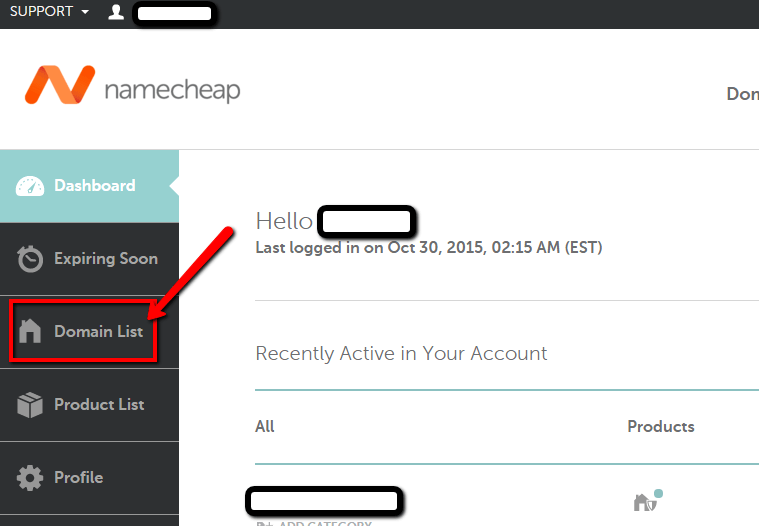
You’ll be taken to your Namecheap dashboard. On the left of your screen, click on “Domain List”.
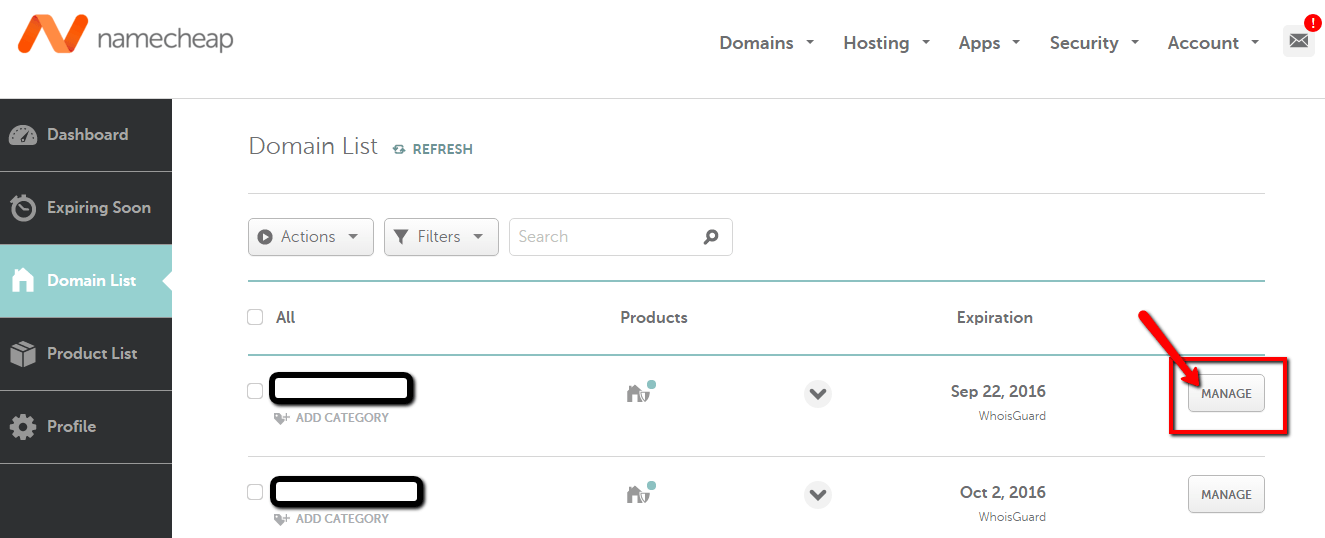
Step 2: You’ll arrive at this page as shown below. At this point, you probably only have 1 domain, so click on “Manage” next to it.
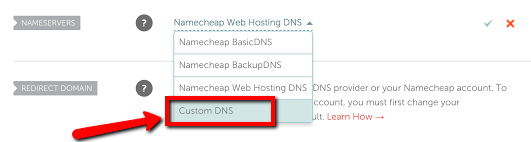
Step 3: You’ll see your domain details. Go to “Nameservers” and click on “Custom DNS” in the drop down menu.
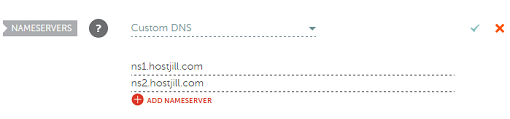
Step 4: In the two lines, type in “ns1.hostjill.com” and “ns2.hostjill.com” respectively, as shown below. Make sure there is no ‘space’ before ns1, it’s a common mistake.
When you’re done, click on the blue check mark on the right.
You should see a message saying that your nameservers were updated successfully.
NOTE: It can take up to 24-48 hours for you domain name to be linked to your hosting servers. Once linked, you may proceed to the next step of the pre training.
Please Click HERE if you want to download all the steps to change the hosting for your domain to your new server as described above in a report (in a PDF file).
Next Step
You can now go on to Pre-Training 3 if you wish. At the end of this Pre-Training #2, you should already have a domain name registered, your hosting linked to your domain name. Please Click HERE to proceed to Pre-Training #3.